A Little [Embroidered] Love Note
On Sunday during naptime I had a sudden urge to embroider something. I have never in my life embroidered anything. I am still not quite sure what came over me. I follow the blog Style Crush, written by Amy of Peptogirl Industries. She is a queen of embroidery and sells darling patterns in her cute etsy shop (and jewelry and pillows and you should just go check her out). After I had finished this project, and was uploading photos I was browsing through my reader and saw two new posts she wrote all about the ins and outs of embroidery. She goes into a ton of detail for anyone unfamiliar with embroidery (like me). If you want some pointers to start a project, or just want to be amazed by all her cute stuff, go check out her fantastic posts that are part of her “stitch school” Lesson 1, Lesson 2, Lesson 3, Lesson 4 (I’ll update this as she does) She even has an awesome stitching guide you can download for free plus some very cute free patterns.
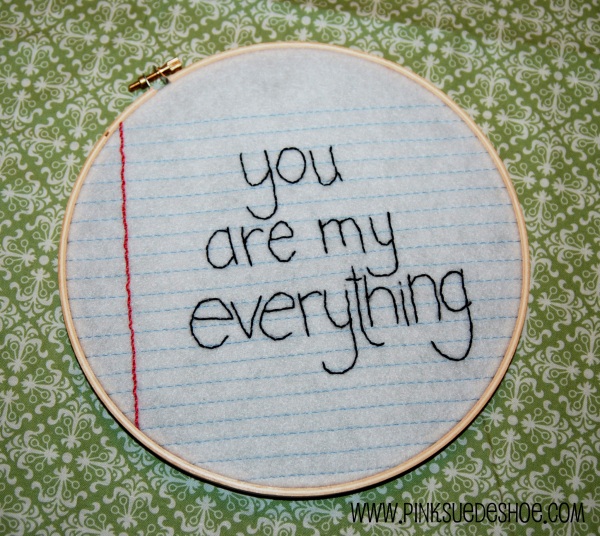
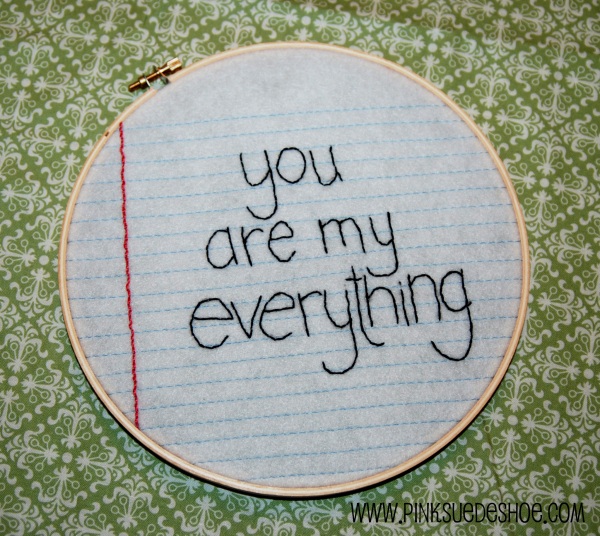
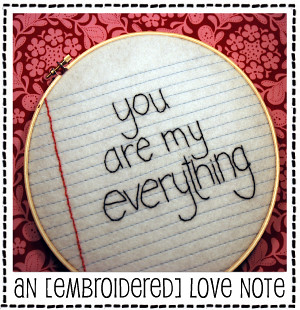
Anyway, my Sunday afternoon beginner embroidery project turned out so cute I decided to make another one tonight. It’s a little simple, but with a different doodle/font/phrase you could beef it up a little. Plus, I am a total sucker for lined paper. I just love it! So here is my little [embroidered] love note.
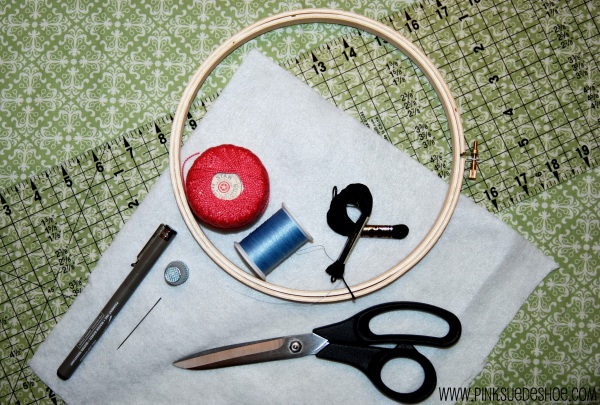
First gather up your supplies. Here is what I used-
- 8″ wood embroidery hoop (I got mine at Hobby Lobby for $.99 a few months ago)
- 11″ ish square of white felt (any white/light colored fabric would work)
- blue thread + bobbin for the sewing machine
- pink crochet thread (or floss or yarn or whatever)
- black embroidery floss (I kinda wish I had gray, but black was fine)
- needle, thimble, scissors a pen and a ruler.
- also a pattern/doodle/marker and paper to make your “note” template
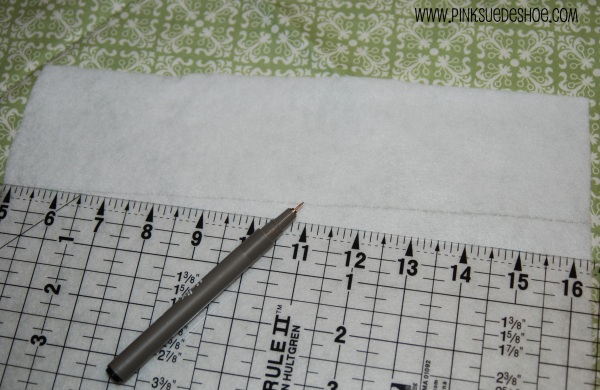
Start by marking a line with your pen straight across your fabric. Mine is about 2-2.5 inches from the top. Use this line as a guide to start sewing the blue lines of your note.
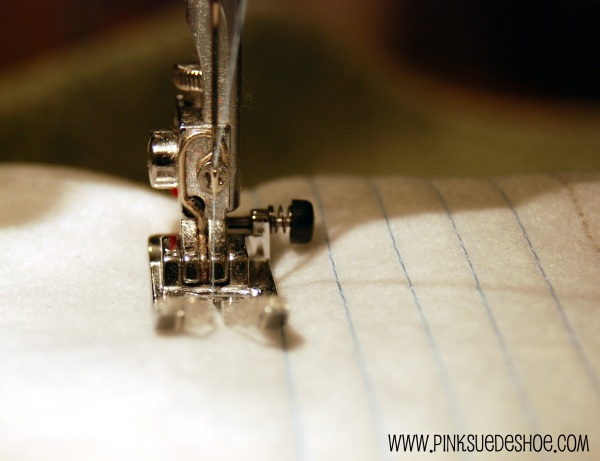 [ Can I just tell you that this might be my new very favorite photo of feet. ]
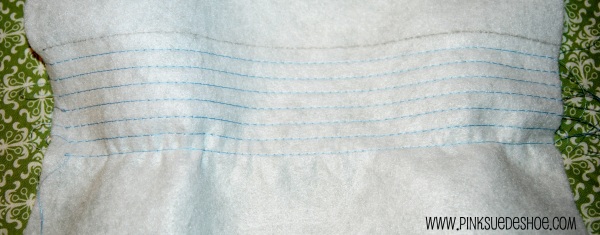
You could also do this part by hand, but I don’t have the patience for that. I actually liked the look of the bottom side of the fabric (the bobbin thread side) better than the top. It has a little more texture to it, so I didn’t mind using a pen on the “front side”. Use the edge of your presser foot to make straight lines all the way down your “page.” I sewed 21 lines without backstitching at either end, because that is going to get trimmed off anyway.
I set my machine to my very longest stitch to make it go faster, and because I didn’t really want it to look tight. As I sewed each line the felt would gather up a little bit, but I just smoothed it out with my fingers before stitching the next line. I think felt may not have been the best option for this… but I didn’t have anything else that was all white. Plus I kind of like the fuzzy texture. I’ll let you in on a little secret… my lines aren’t straight. And I’m not even freaking out about it. If I had set my machine to run a little slower I might have avoided the scrunching problem (maybe?), but I’m just gonna say it gives it character.
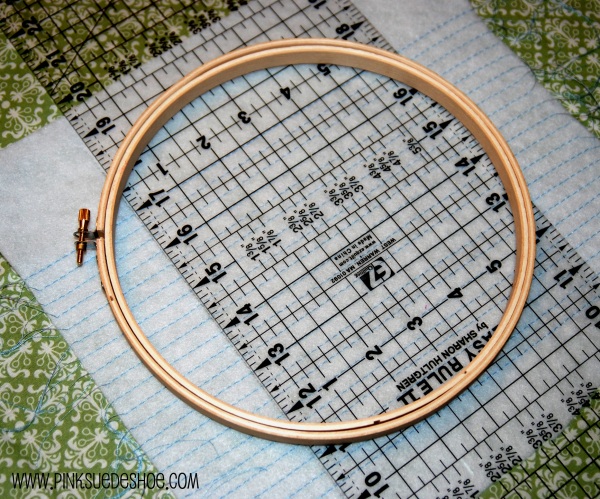
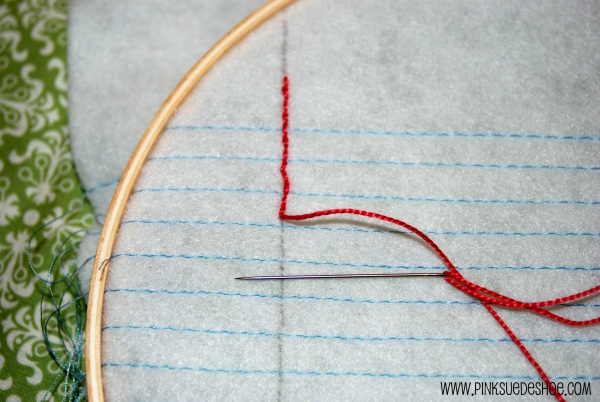
When your lines are all stitched, smooth it out again and use a ruler to mark a line perpendicular to your stitching. This is going to be the pink stripe up the side. I set my hoop on top so I could see where it was going to end up being when I was finished. Now let’s start stitching. Put your fabric in the hoop and pull it tight. You’ll probably need to move your fabric in your hoop twice. Once to get a good start on the top of this line, and once to get a good finish at the end. Then you can move it to it’s final spot when this line is done. It’s way easier than thinking you can just do it all without having to move it. Trust me. I tried that the first time. (Wish I took a better picture of that…. is that confusing?)
Using a single strand of crochet thread (or you could use embroidery thread as well, I’d probably use all 6 strands to give it a nice thick look) stitch down the side of your fabric. Follow your lines carefully, it’s pretty easy to make it look crooked with only a few crooked stitches. I would know.
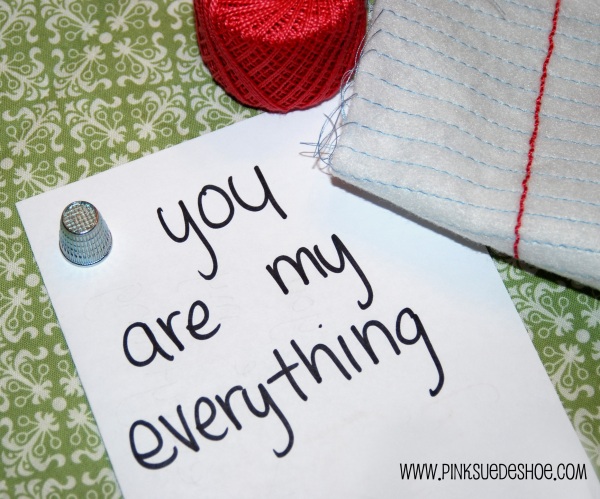
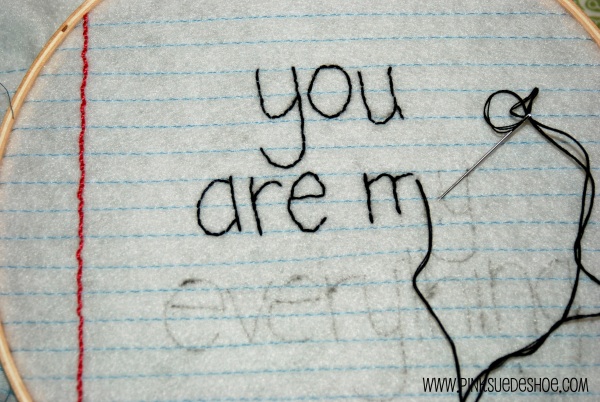
Next I used a plain piece of paper and wrote “You are my everything” in a black sharpie. My neice used to say this and it is one of my very favorite phrases. Check out this tutorial by Amy at Peptogirl Industries for way more information and much better explanation of how to transfer patterns to embroidery projects. I just traced my own handwriting onto the felt with a tiny pen…. which I am pretty sure isn’t the recommended route. (Hint- trace your pattern/phrase/whatever onto your fabric before you put it back in your hoop, it’s way easier.)
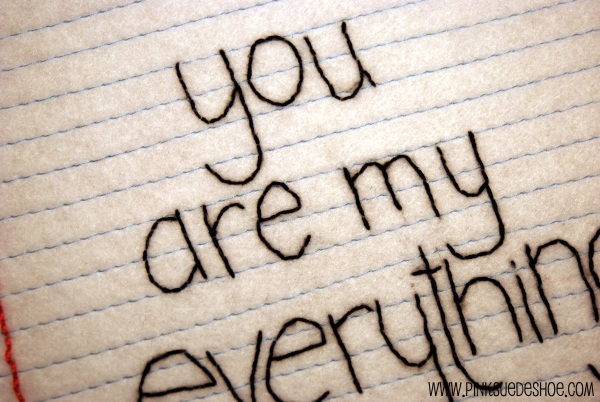
Now start stitching! I used three strands of black floss and just did a basic running stitch/backstitch. Don’t look at the back of this, it’s a big old mess of stitches..
 [ image ]
Half way through I noticed a big black mess of thread on the back. I decided I probably needed a little break, so I ate one of these. This step in the tutorial is purely optional. But I definitely recommend it.
Finish up and clip your threads. I tightened everything up in my hoop at this point and then trimmed down the edges of the fabric. And tada! A cute little love note. What will you write?
Happy Stitching!



awww…you are too sweet! Thanks for the blog love! I adore your project. I’ll be linking some time this week!
That turned out so great!!! Awesome job! Thanks for all the great links! I’ll definitely check them out! Embroidery is one of my favorite things! I love the “optional” step that you added! ha!
Have a wonderful day!
I has a crush.
xox
Very cute. Awesome for your first. Thanks for the links.
Pretty much every project I take on requires some kind of a treat break. Glad to know I’m not the only one!
Love the little tute. Bookmarking for later. 🙂
Great idea. I love it! Perfect for stitching while watching conference.
That is adorable! Can’t believe it is your first! Very neat idea. Thanks for sharing.
“I love you Do you love me? Yes No Check one.” Pretty sure I wrote a note like that in fifth grade. It didn’t go well. But I can laugh at it now! Great finish! Thanks for sharing the tutorial.
i absolutely love this…the way it looks like a letter is awesome.
This is absolutely adorable, I must try it!!
Sew blasted cute!
How much fun is this? I need to make one for my husband and stick it in his laptop before he goes to work!
Thanks for sharing!
That is the coolest. The notebook paper background is so adorable! Nice. 🙂
This is so F-R-E-A-K-I-N’ Cute! Thanks for the share!
What a great job you have done. Lucky you had things on hand when your embroidery inspiration struck.
oooh this is so cute! i like the instructions on making the lined paper.
can’t wait to make some cute hoop messages.
Toooo cute! Thanks for going to all the effort with photos and links – great job!
What a creative project – I love it!
Very cute!!
Blessings,
KT
this is the sweetest craft! so tender.
ps – loving your blogging.
OK, this is just too darn cute!!!! Thank you for the step by step directions. Love your idea of a sewing break. Thanks for sharing.
This is so so cute!
That is the cutest love note! Well done 🙂
That is awesome. Unfortunately I can’t sew to save myself 😦
gave you an award at my blog
kimboscrafts.blogspot.com
I thought this project was ADORABLE and featured it here. I love that you have the notebook paper lines stitched on… so cute!
I love this idea! I think I might make something like this for Christmas presents. What a sweet, sweet idea! Thank you for sharing!
I am so going to try this! My boyfriend will love it 🙂 I haven’t tried any embroidering like this before – do you wash the fabric after you are done to get rid of the transfered image, or just try and cover it completely by sewing over it?
This is hands down the cutest embroidery I’ve ever seen. So simple and sweet! I LOVE the notebook paper. I’m definitely stealing this idea when I’m done with a few of my current projects!
i’ll trade you one of my ukrainian eggs i make, for that super cute stitchery. seriously!
OMG, that is so cutie! I’m gonna make one for my BFFs birthday!!
Love this project! Now I want to come up with other sayings!
Reblogged this on sarety poulaine comentado:
do amor!
I’m truly enjoying the design and layout of your site.
It’s a very easy on the eyes which makes it much more pleasant for me to
come here and visit more often. Did you hire out a designer to create your theme?
Fantastic work!